Deployment
Deployment is the process of installing your enabled mods into the Helldivers 2 game directory. This guide covers the deployment workflow, status indicators, and troubleshooting.
Deployment Overview
When you click Deploy:
- Arsenal reads your enabled mods in order
- Mod files are processed according to options
- Files are copied to the game’s
datadirectory - Conflicts are resolved by load order
- The game is ready to launch with mods
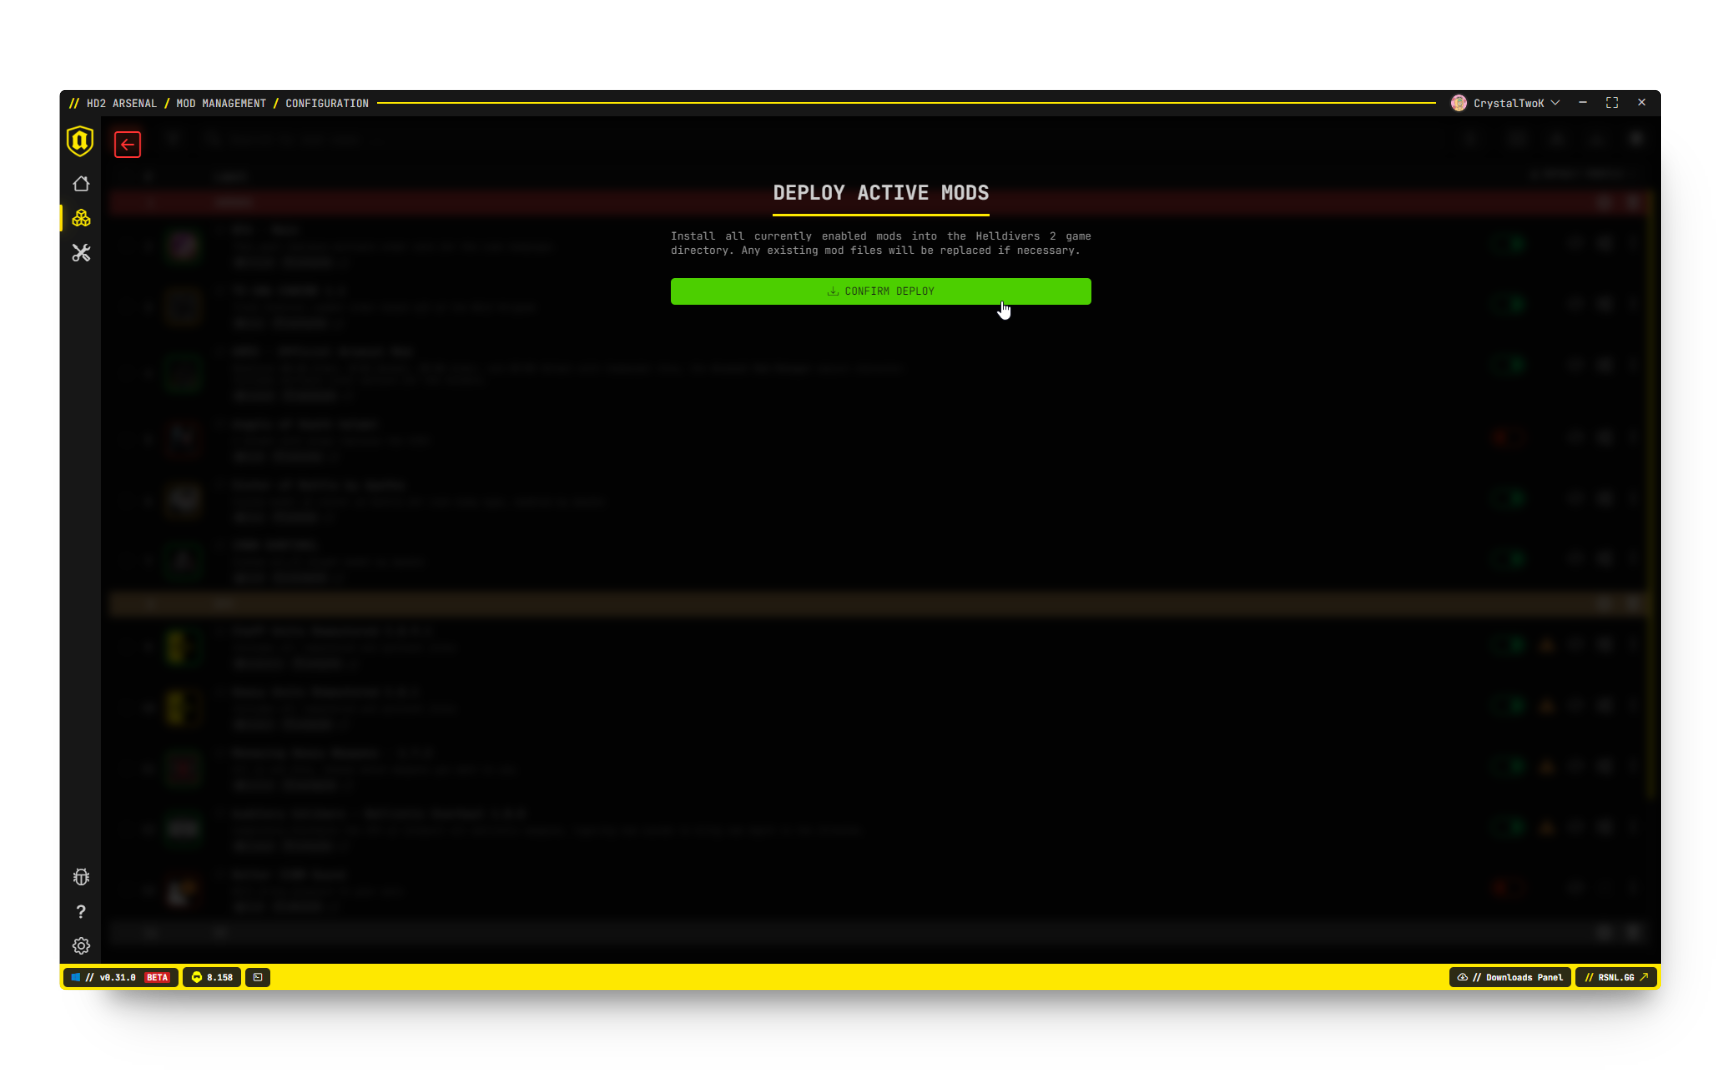
Deploy Button
The Deploy button (download icon) in the toolbar initiates deployment.
Pre-Deployment Check
Before deploying, ensure:
- Desired mods are enabled
- Mods are in the correct order
- Options are configured as wanted
- Game is not running
Deployment Status
Icon Indicators
Mod icons show deployment status through border colors:
| Border | Status | Meaning |
|---|---|---|
| Green | Deployed | Mod is installed, no changes |
| Yellow | Changed | Mod was modified since deploy |
| Red | Not Deployed | Mod is not in the game |
When to Redeploy
Redeploy when you’ve made changes:
- Enabled or disabled mods
- Changed mod order
- Modified mod options
- Added new mods
- Updated existing mods
The yellow border reminds you that changes haven’t been applied yet.
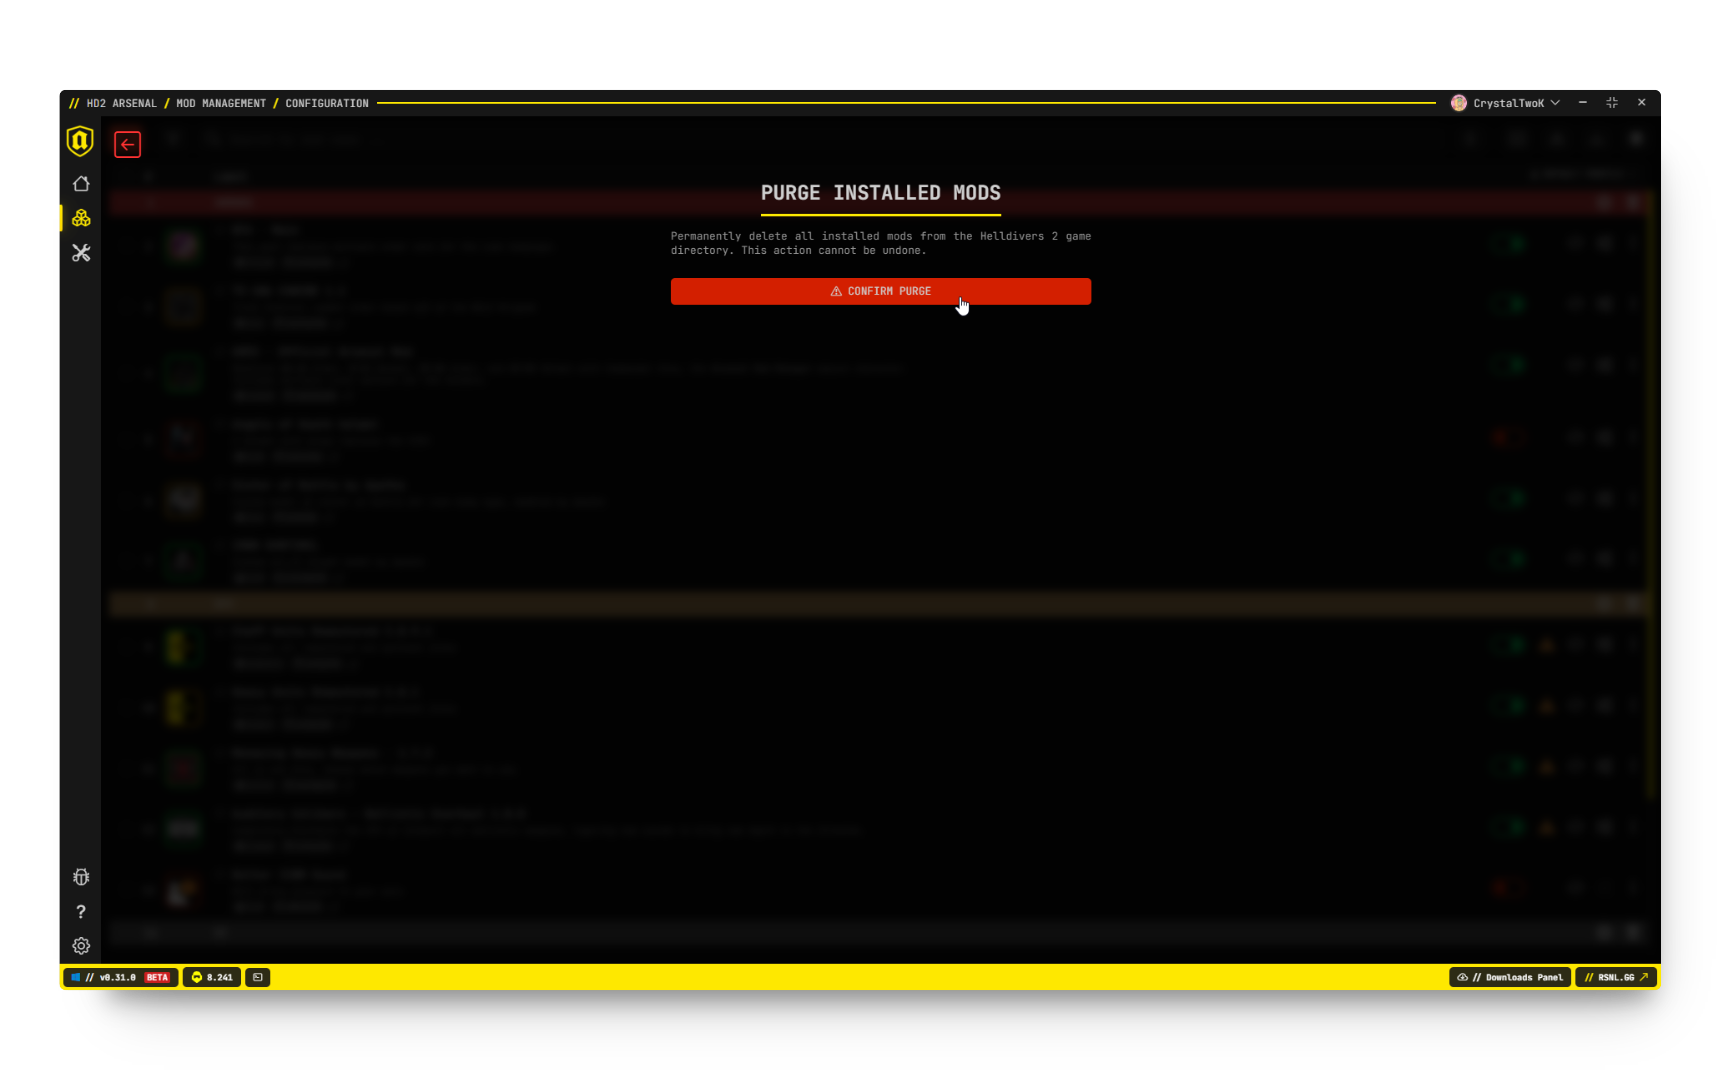
Purge
The Purge action removes all deployed mods from the game directory.
When to Purge
- Before completely changing your mod setup
- If experiencing game issues
- To verify vanilla game behavior
- Before game updates (recommended)
Purge Process
- Click the Purge button (warning icon)
- Read the warning dialog
- Click Confirm Purge
- All mod files are removed from the game directory
Note: Purge does NOT delete your mods from Arsenal. They remain in your library and profiles.
After Purging
- Game will run vanilla
- Deploy again to restore mods
- Your configuration remains intact
Conflict Resolution
How Conflicts Work
When multiple mods modify the same file, load order determines the winner:
Load Order Example with low priority:

Position 1: Mod A (texture.patch_0)
Position 2: Mod B (other.patch_0)
Position 3: Mod C (texture.patch_0)

Result: texture.patch_0 = Mod C's version
        (Mod A's changes are overwritten)
Strategic Ordering
Place mods intentionally:
- Base/foundation mods - Top (loaded first)
- Override mods - Below what they override
- Priority mods - Bottom (loaded last, always wins)
Conflict Warnings
Use the conflict detection feature to identify issues:
- Look for warning icons on mods
- Click to see which mods conflict
- Decide which should take priority
- Reorder or disable as needed
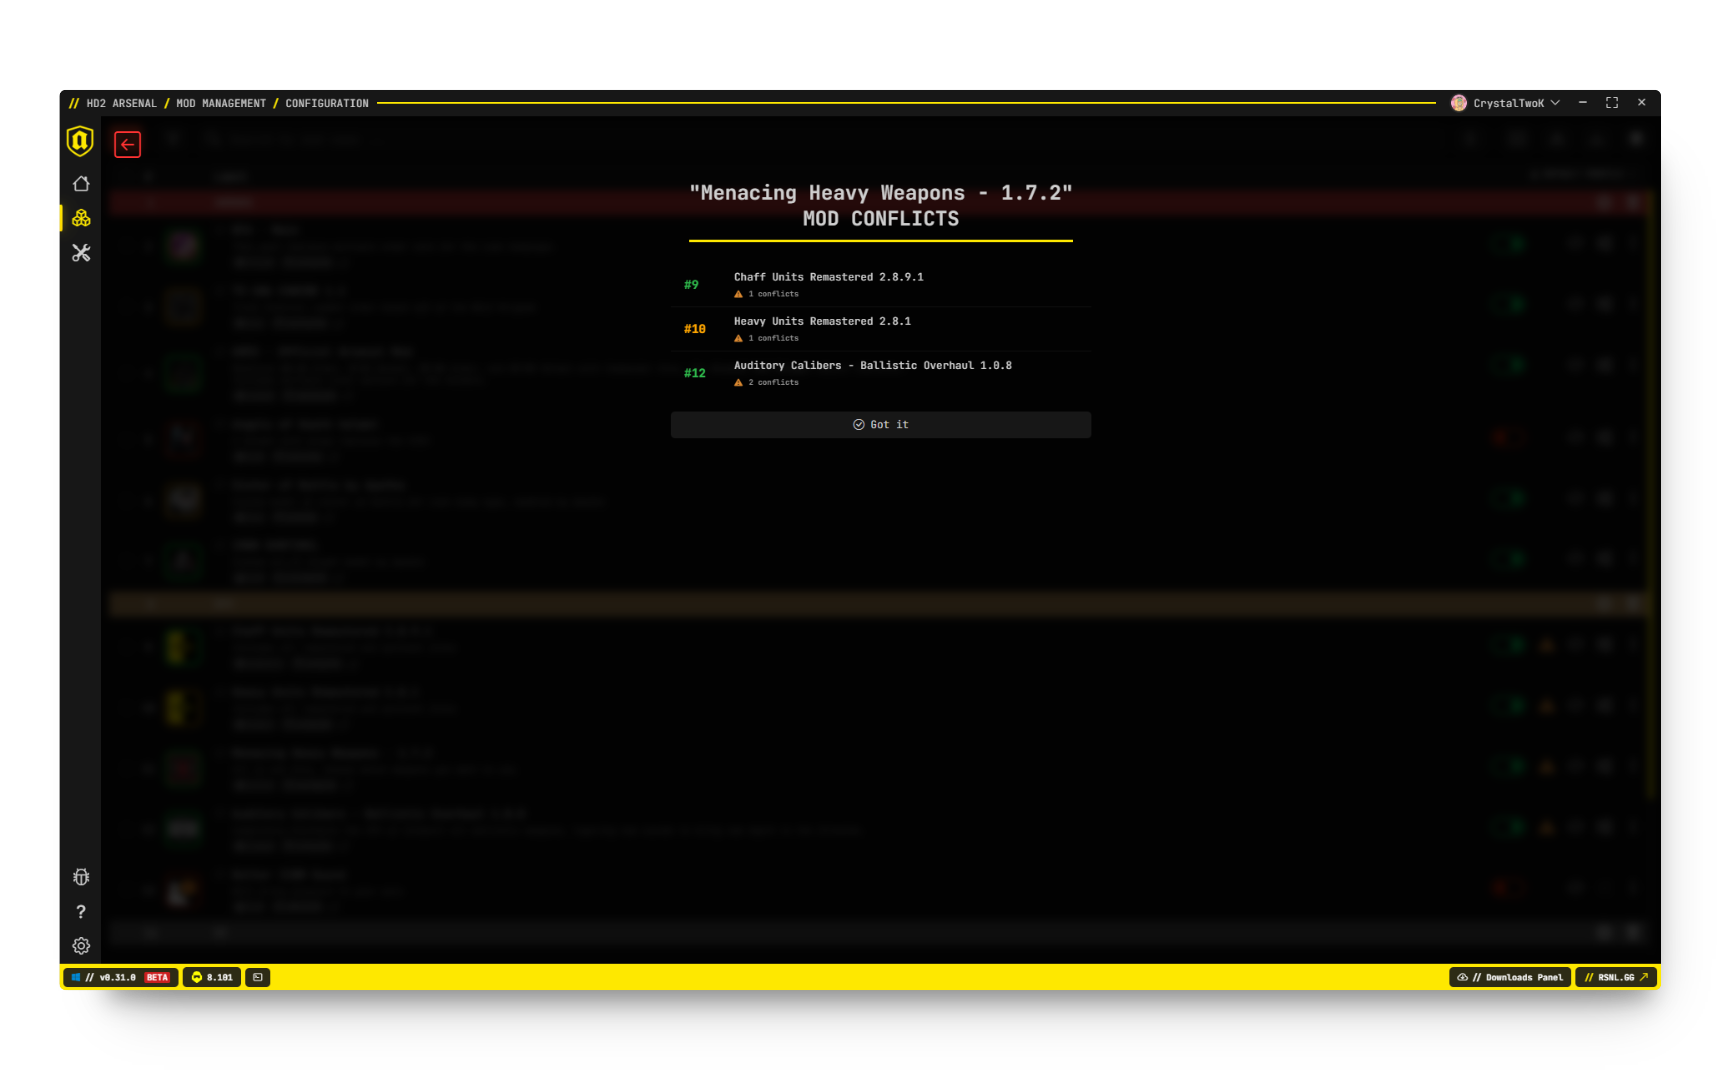
Note: Conflict warnings are informational only. If two or more mods conflict, it doesn’t necessarily mean they won’t work together. Many mods are designed to work alongside each other, and conflicts may be intentional or harmless. Use these warnings as a guide to understand load order, but don’t assume conflicts will cause problems.
Troubleshooting
Mods Not Working In-Game
- Verify mods are enabled
- Check deployment status (green border)
- Ensure you deployed after changes
- Verify game path in settings
”Game directory not found”
- Go to Settings
- Update the Helldivers 2 game path
- Select the folder containing
binanddatadirectories
Deployment Takes Too Long
Large mod collections take longer. This is normal for:
- First-time deployments
- Many high-resolution texture mods
- Mods with large file counts
Game Crashes After Deploy
- Purge all mods
- Verify game works vanilla
- Enable mods in small batches
- Deploy and test after each batch
- Identify the problematic mod
Conflicting Mods Causing Issues
- Check conflict warnings
- Disable conflicting mods one at a time
- Test to find the issue
- Adjust load order or remove incompatible mods